


by Doc – Owner, Founder, Is Pretty Sure This is What N64 Runescape Would Have Looked Like
Extremely mild spoilers follow. This post only discusses tips and tricks for the first 30 minutes of gameplay, and just enough to get your bearings. If you’re looking for more detailed information, see our tier list for Megabonk.
I’ve spent a bit of time playing Megabonk, the game that just hit Steam for a nice $10, and have quite enjoyed my time with it. I’ll admit: this game seems simple enough at first, but you can tell there’s a lot underneath the base gameplay. While I won’t be getting too far into the mechanics and spoilers, this guide will give you enough info to get some mileage out of your first runs in the Forest.

You are a Lawnmower
Let’s assume we chose Sir Oofie, because he gives off Old School Runescape steel armor set vibes. I ain’t playing as no fox.
As with many hack ‘n’ slash games, the formula is quite simple: swing in front of you, and kill bad guys. In Megabonk, the swinging is done for you on a timed interval, so you need to focus more on making sure your swings count and traversing the landscape quickly. That’s right – you shouldn’t stay in one place to farm enemy kills. No matter where you go, they’ll get stronger over time, so you’re better off traveling to find chests and pots to loot so you can upgrade and prolong your life.
I’d also recommend not turning around all that much. My hack ‘n’ slash experience only extended up to Lego Star Wars for the Nintendo Gamecube, so I found it intuitive to keep killing the enemies behind me. Problem is, you’re going to get surrounded and the only way to keep them from coming in contact with you is to keep moving forward. Every few seconds, turn your camera around to see if you have enough enemies behind you to bother getting the XP from killing them, and periodically do so to farm them up. Of course, if there’s enough of them to be hitting you from behind, stop what you’re doing to solve that. No point in taking damage.
Also, jump. A lot. Jumping hits enemies below you and above you when you swing, but it keeps you away from the bad guys. So long as you’re careful about fall damage you should stay airborne if possible.
What to Grab
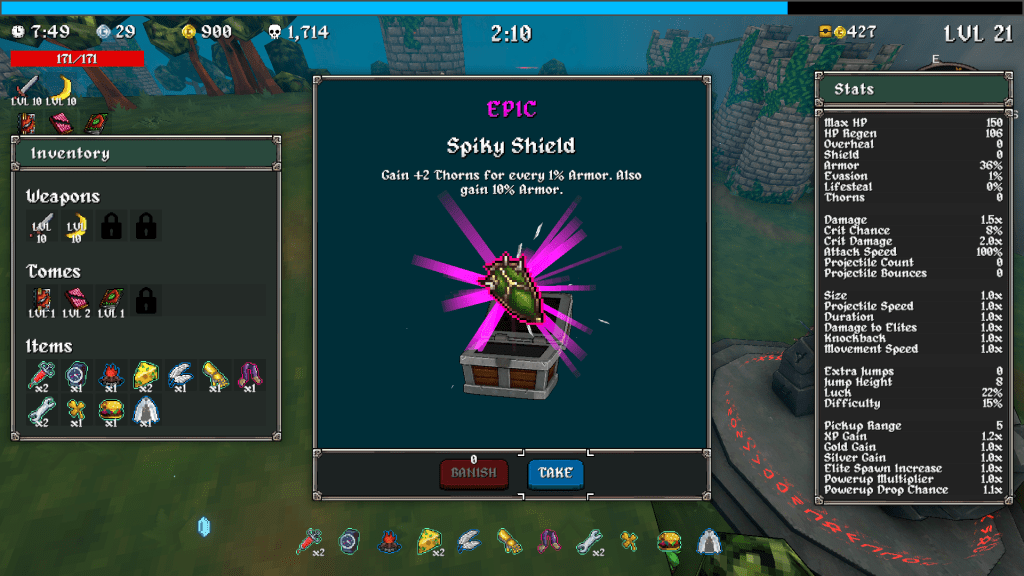
The specifics of what you need for each run isn’t something I can prescribe for you, because each run is randomly generated and you don’t know what you have until you roll the dice. Just know that upon level ups (the blue shards are your XP by the way, and the blue bar at the top is your level gauge) you’ll get to choose an upgrade, and the wooden chests and jars along the way are also sources of upgrades. The chests are, because this is a roguelike, loot box-type RNG pulls. You can’t decide what to get, but nothing seems to hurt you.

Always spend the moolah to open your chests. What’s the point of the money if not to prolong your run a bit farther?
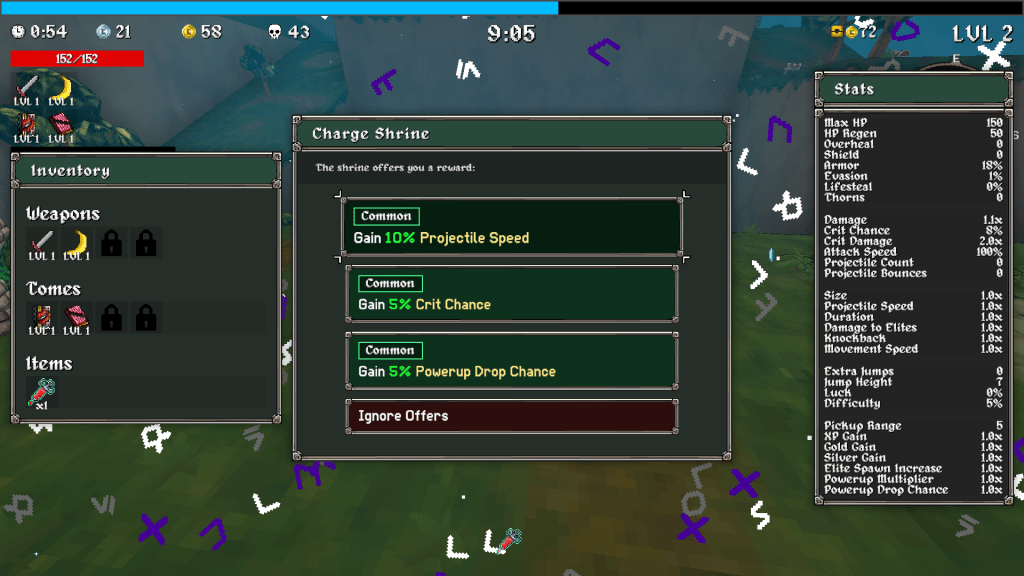
Shrines are another great thing to open, if you can. If you can stay within the shrine orb for about ten seconds, it’ll pop for you and give you an option. The options are usually pretty solid choices, so I prioritize shrines over everything else.
What Upgrades to Choose
The obvious answer to this is “it depends on what options are given to you”, but there’s not a wide enough pool of options that I can’t make a few recommendations, given that we’re in the Forest and using Sir Oofie.
As a general rule, you want two things:
- A better sword
- A second weapon
- Borgar
Unfortunately Borgar seems to only be something you can pull from chests, so I try to pick the sword upgrades whenever possible. Your sword is usually your lifeblood unless something unexpected is given to you. If neither of those options are available, I’ve also had a lot of benefit from getting Moldy Cheese, armor improvements, and other fairly straightforward stat improvements.
If you get a second weapon, the staves are pretty useful. They’re ranged options, so you don’t have to be right up next to the bad guys to kill them. I’ve had equal success with the fire and lightning staff, so pick the cooler looking one.
Borgar is phenomenal. Borgar is a 2% chance to spawn a little hamburger that heals you for a dozen or so HP when you kill an enemy. Here’s the thing: you’re going to be killing a lot of enemies and you’re going to take damage. Borgar is like a traveling health pack that gets better the more you kill.
The End of Your Run
The point of your runs is to find the boss and kill ’em before ten minutes is up. Once the ten minute timer hits, you’re screwed. The game summons a swarm to kill you.

If you manage to find the boss before the ten minutes is up, you can fight him. He’s… difficult. I’ll show you what to look for:
See that red thing in the corner? Look for an NPC near that to activate it. That’s where the boss spawns. (You can tell we do our own screenshots around here). After that… well, after that it’s spoilers!
Best of luck!
