

In Smash 4, recorded amiibo tournaments were hard to come by. Capture cards were even more expensive than they are now, and the technical knowledge was hard to find in the earlier stages of the scene. The only consistently-scheduled recorded tournament was Amiibrawl, and it’s still the most famous and popular one.
Ultimate is much more user-friendly though, and it allows users to save the footage of their tournaments without many expensive devices. To record tournament footage, you will need:
- A typical Switch and copy of Smash Ultimate
- A Micro SD card (you won’t need one larger than 32 GB, I use a 16 GB card)
- A desktop or laptop device that is capable of accessing SD cards or Micro SD cards (this may require a Micro SD card adapter, depending on the capabilities of your computer)
Once you’ve gathered those things, run your amiibo tournament as normal. You’ll want to focus while being the TO, because this is the tricky part: after every match, save a replay. Most people don’t automatically save a replay after every match they watch, especially when they’re not actually playing in that match. You’ll need to focus so you don’t miss saving that replay.
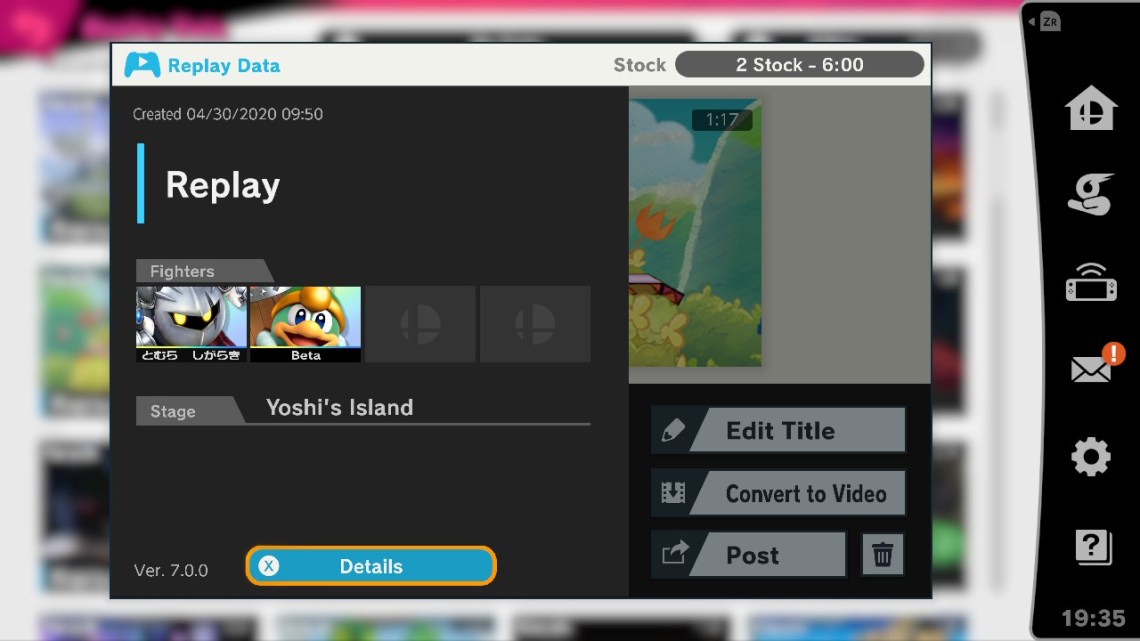
Now head to Vault, and Replays. You’ll want to make sure your SD card is inserted. Open the Replay Data menu, and locate the sets you want to record videos for. At this point, you’ll want to have your brackets handy for the tournament – that way you’ll know what you’re recording.

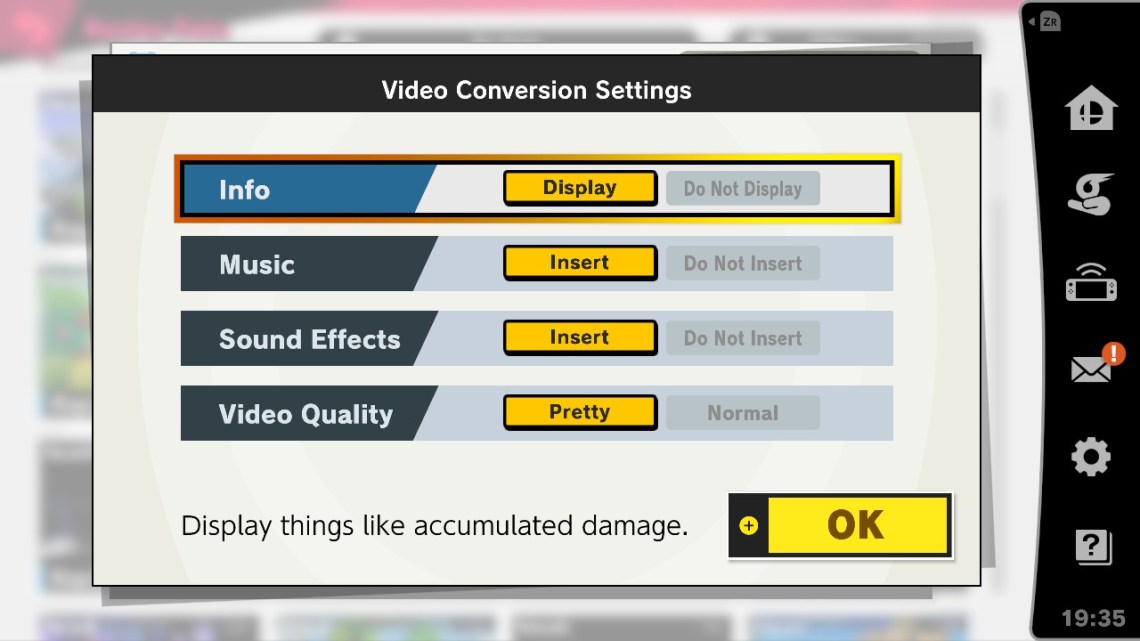
Go through each video, select “Convert to Video”, adjust the options as you see fit (if you’re going to commentate over them I recommend turning off music and sound effects).
 The game will load the replay, and ask you to press + to start converting. While the game is running, do not press any buttons whatsoever. The game is basically using a built-in capture card to record the gameplay, and touching just about anything will change the camera angle, ruining your replay. Some crafty video editors use this feature for montages and whatnot, but that’s not our business today.
If you’re having a problem with frame-skipping in your sets, it means your SD card is full. Either empty your SD card or transfer the videos to your computer and come back for another batch.
Turn off your Switch completely, take out your SD card very gently (you have to lightly push on it to eject the card), and insert it into your computer.

Open your SD card in a file explorer. The recordings will be listed under Nintendo > Album > Extra > [jarbled mess of numbers and letters] > [year] > [month of recording] > [day of recording]. The videos won’t carry the names you gave them in Smash for some reason. Instead, they’ll be sorted in the order that you converted them. Technically, the file names are [year][month][day][hour][minute][second], but I don’t expect you to need that information.
At this point, you’ve got your replays converted! Congratulations!
